Uploading Images to your Website
This tutorial provides advice on how to:
- Prepare an image for upload to your website.
- Upload an image to your website using the Content Management System (CMS).
- Upload multiple images to your website by inserting images in tables.
Image Editing
Using Microsoft Paint, included as part of Microsoft Windows, it is possible to resize, crop and rotate an image, prior to uploading the image to your website. It is important to prepare an image for use on the web in order to ensure it looks good, fits your website and is fast to download.
First, run Microsoft Paint. Paint can be found in the accessories menu, or use the search option in your start menu to easily locate the paint program.
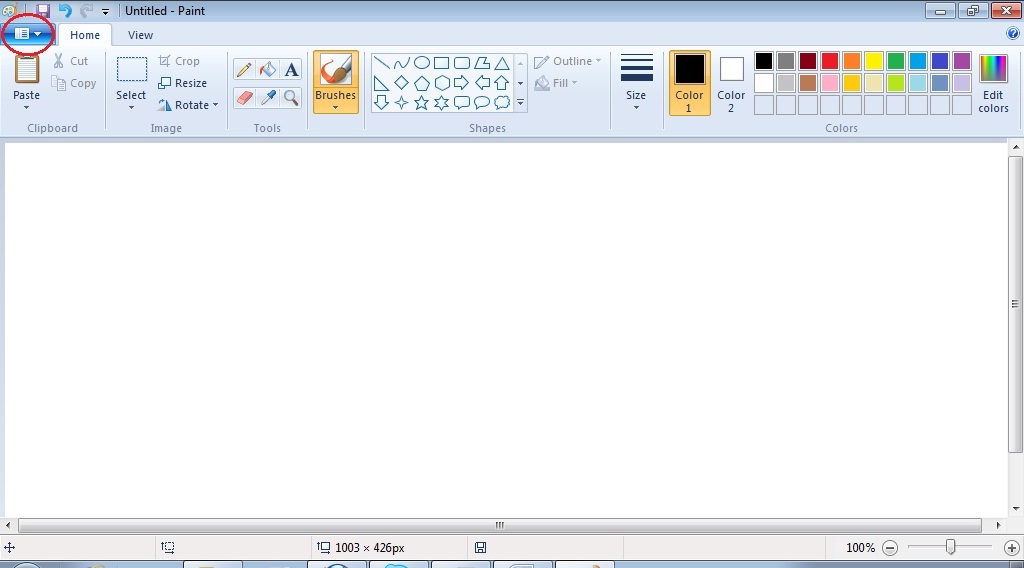
Once paint has loaded, open the file of the image you would like to edit. Click on the icon circled in the screen-shot below.
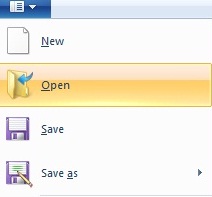
The options in the screen shot below will appear. Click on Open and select the file you would like to work on.
Most photos taken using modern digital cameras are of a large image and file-size, and are not suitable for direct upload to your website. Apart from being too large in image-size, they will slow down the loading of a web-page. In most cases, it is necessary to resize images prior to upload.
We recommend resizing your images to two different sizes, which we will call small and medium sized images. The small image may be used as a thumbnail on your website. When the thumbnail image is clicked, the medium image will appear in a new window.
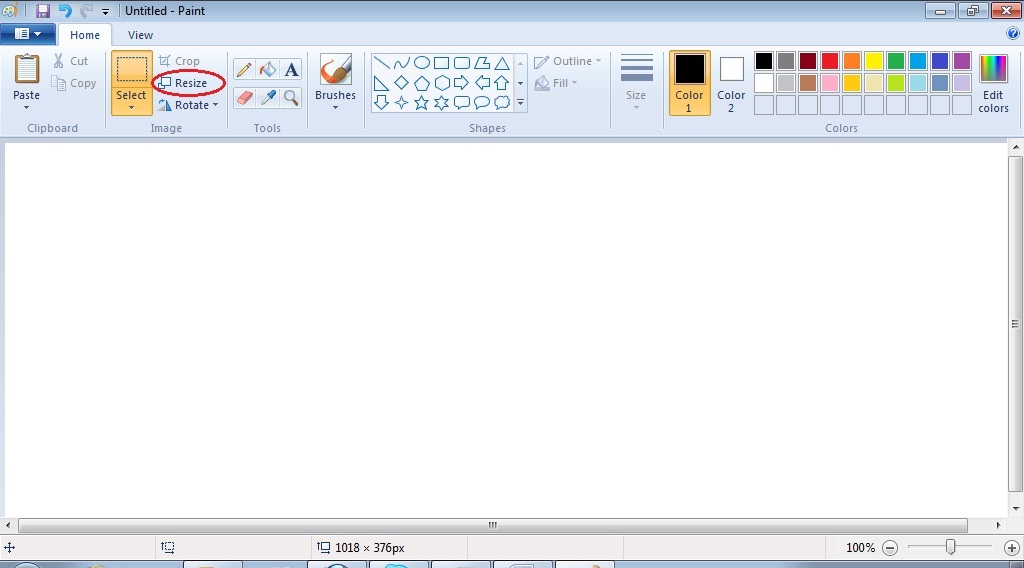
You may resize an image in Paint using either Percentage or Pixels. To do this, click on Resize, circled below.
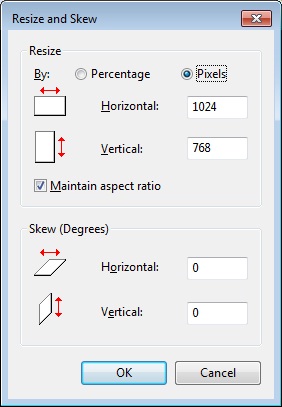
When you click on Resize, the window below will appear. Under Percentage, The Horizontal and Vertical fields are always set to 100. You may enter the percentage number you would like the image to be resized to.
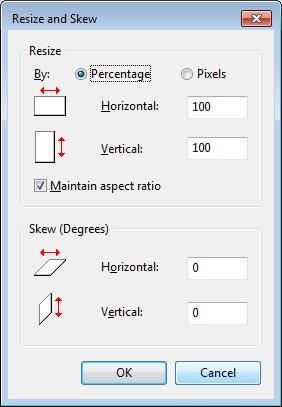
For example, if you would like your photo to be reduced to 50%, enter 50 under the Horizontal and Vertical fields and then click on OK.

In the photos below, the image on the right has been resized to 50% from the original photo on the left.

You may also resize your image using by selecting Pixels, just beside Percentage.
A pixel represents the smallest possible element on your screen.
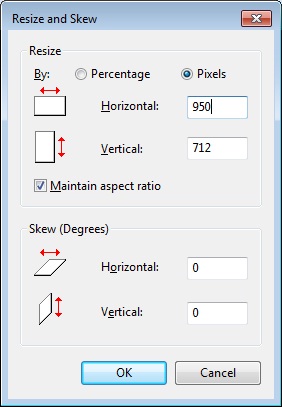
Under Pixels, the Horizontal and Vertical fields will always contain the original pixels of your picture file. Enter the new pixel values you would like your image to be resized to.
We recommend using 250 to 400 pixels wide for small images to be used as a thumbnail. The size though will depend on where you wish to place the image. Make sure that the Maintain aspect ratio option is checked so that the image will keep its proportions after being resized.

For medium sized images, we recommend 950 pixels wide. This is because most web-pages are under 1000 pixels wide.
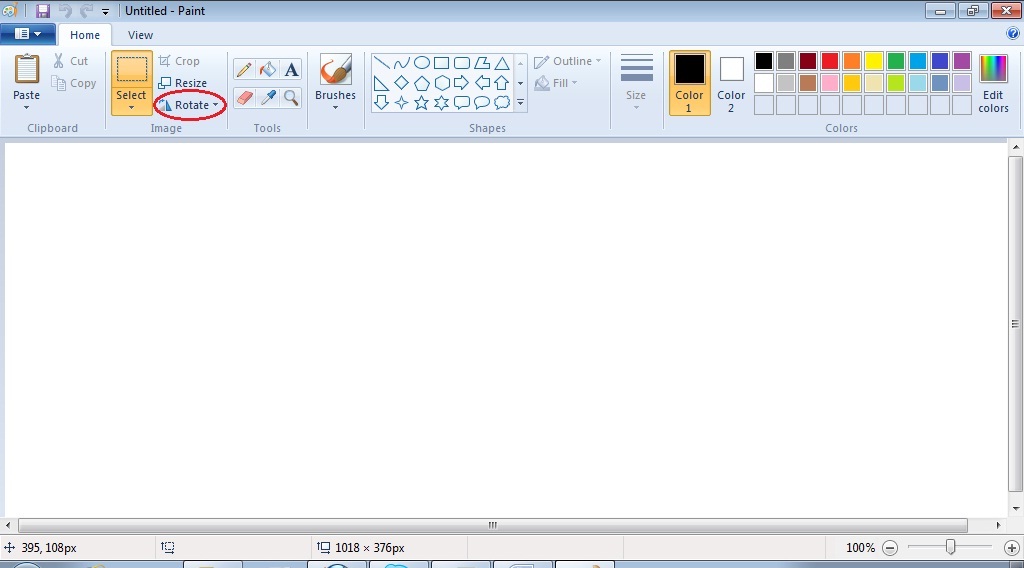
You may also rotate or flip your image using Paint. Click on Rotate, circled below.
Clicking on Rotate will show these options.
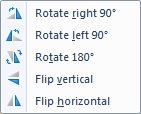
Select the changes you would like to make for your image. In the example below, the image on the right has been flipped horizontally.

Paint also enables you to crop your images. Select Crop, circled below.
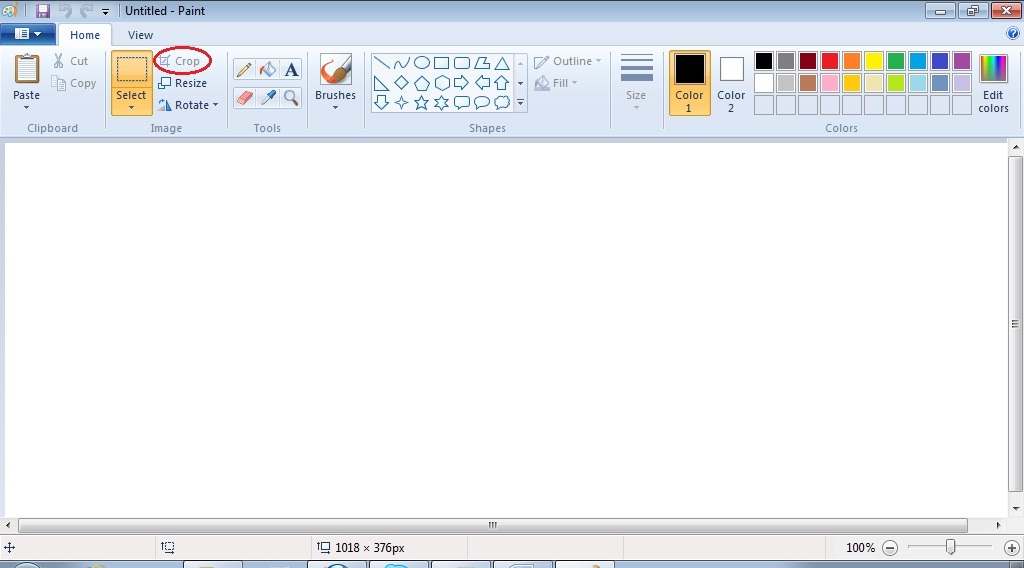
Next, click on the rectangle above Select, highlighted below. When you place your cursor over the image, you will be able to drag your cursor over areas of the image you would like cropped.
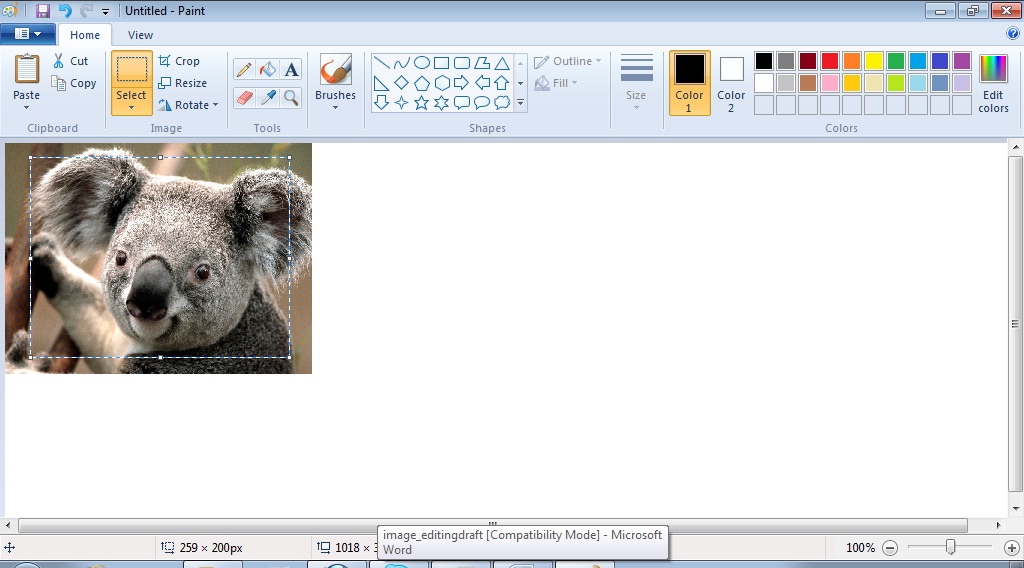
In the example below, the photo on the right is cropped from the original photo on the left.

Saving your Images
After resizing, rotating and cropping an image, save it to your computer. The best format for natural images is JPEG.
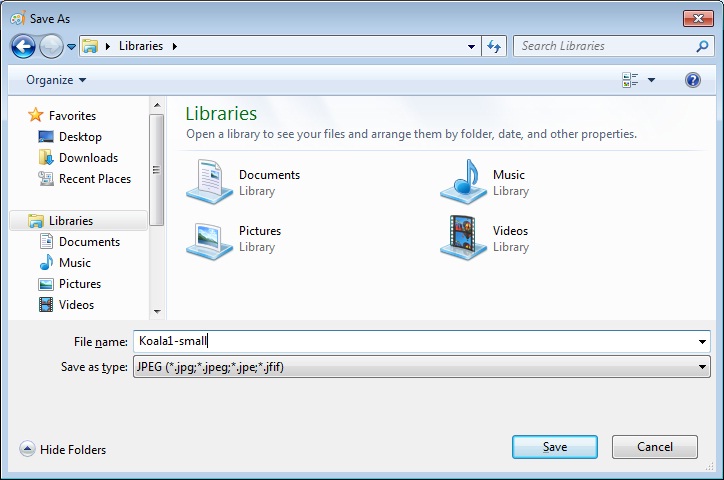
Save a copy of your medium and small images to your computer. Name them appropriately, so you can easily tell the difference between each image. You could name your files as follows:
Koala1-Medium.jpg
Koala1-Small.jpg
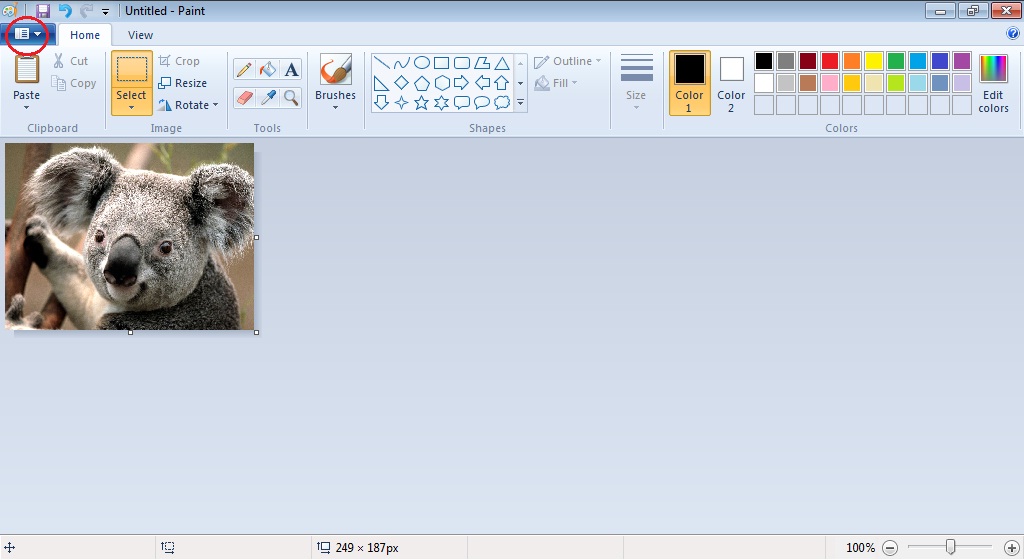
To save your image, click on the icon circled below. Or you may also click on the small picture of a diskette just above the circled icon.
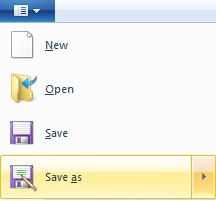
The options below will appear. Select Save As.
From the formats available, select JPEG picture.

Select the location where you want to save the image, type in the file name and click Save.
Uploading Images to the CMS
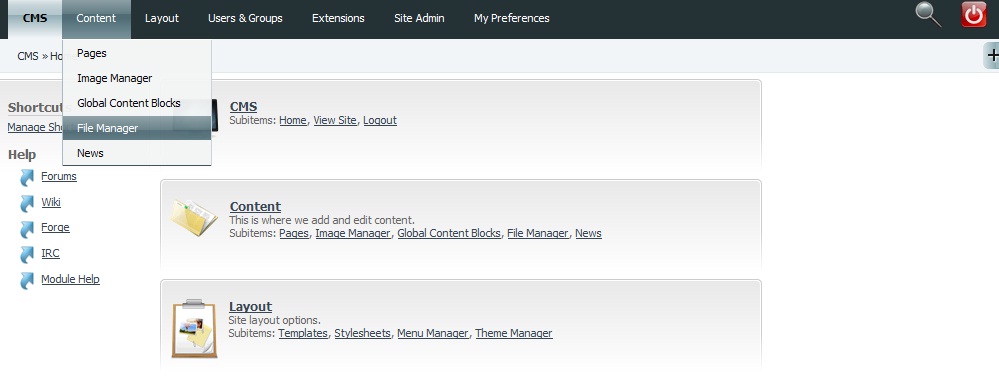
To upload the new images to your website, log into the CMS. Then select File Manager under Content of the CMS, as highlighted below.
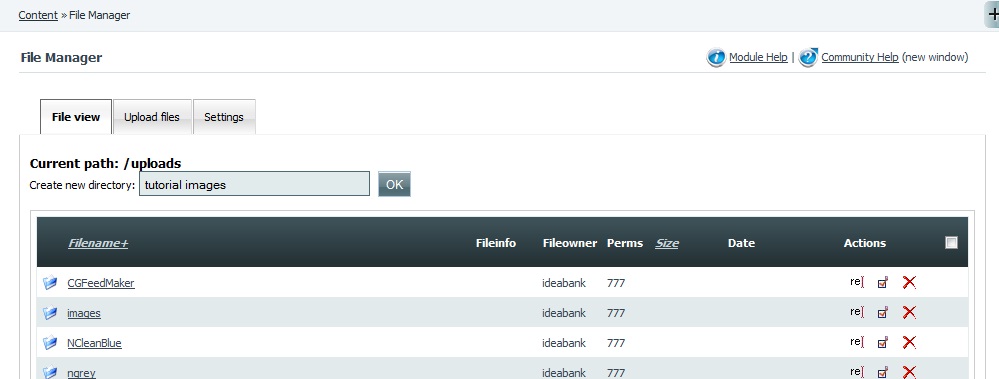
You may like to create a new folder for your images. Under Create new directory, enter your new folder name then click on OK. However, in most cases, you can upload your images under the folder named images.
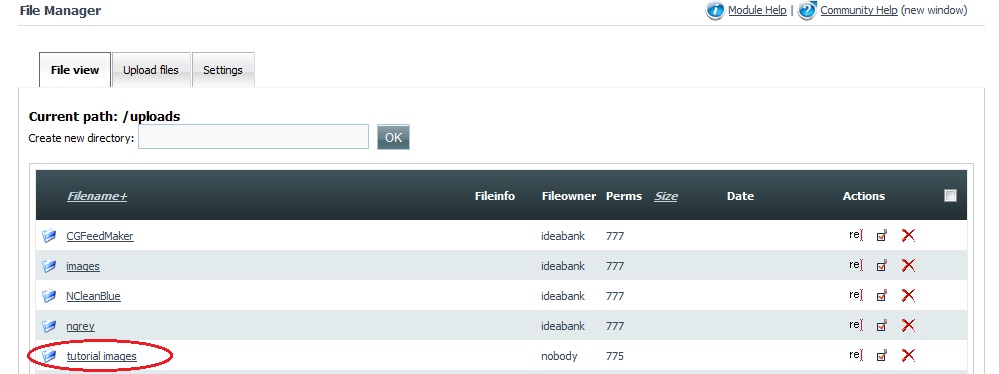
If you created a new directory, you will be able to see the new folder you created, as shown in the example circled below.
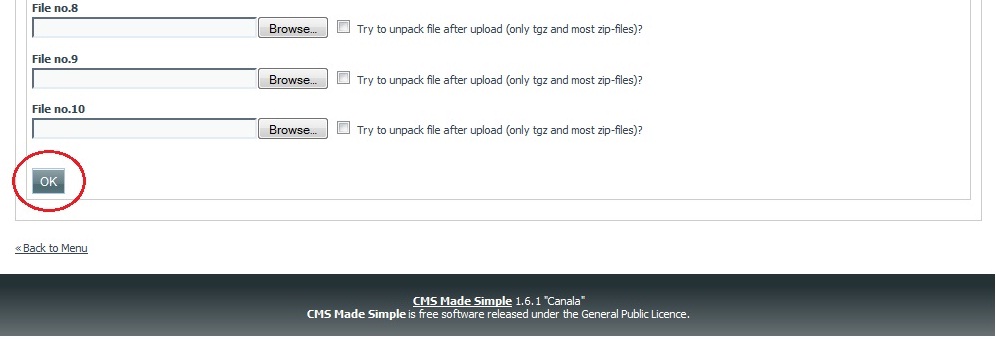
Click on the folder and select the tab Upload files. Then, click on Browse to choose the images you would like to upload.

Once you have selected your files, click on OK at the bottom left of the page, circled below.
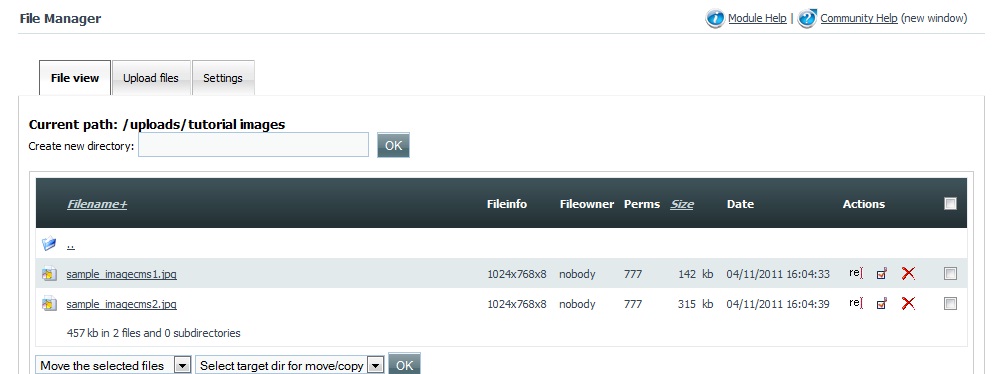
Your files will now upload to the CMS. Once done, you should be able to see the files you uploaded under the File view tab.
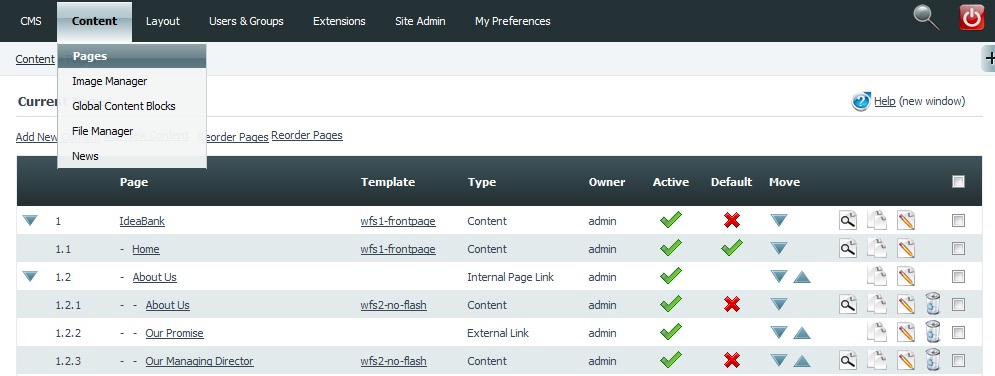
Once you have your picture files uploaded to the CMS, you may now include them in your web pages. In the CMS, go to Pages under Content, as highlighted below. Then, select the page where you will include your images.
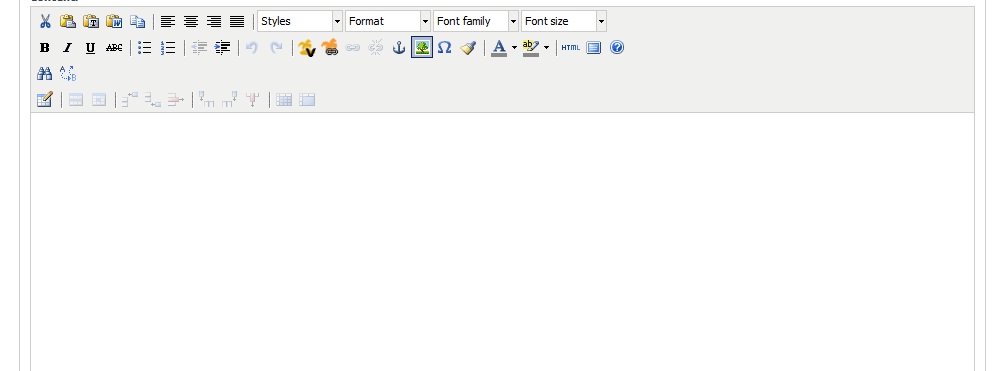
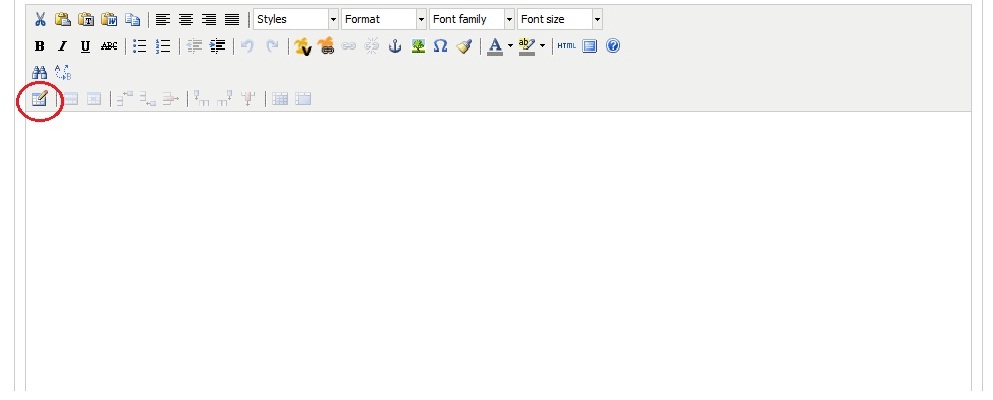
To insert an image, click on the insert/edit image button as highlighted below.
A new window will appear – Insert/Edit Image. Click on the Browse icon, circled below.
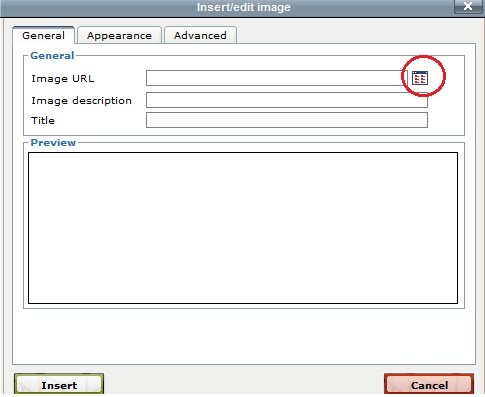
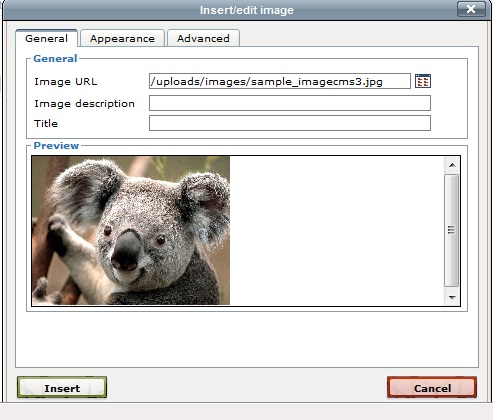
Click on the file of your small sized image. Its image URL and a preview will appear.
To select the appearance (left, centre, right) of the thumbnail image in your web page, click on the appearance tab, and select the required setting. You may also select padding, to appear around the image, such that the image has padding from any surrounding text.
Finally, click on insert.
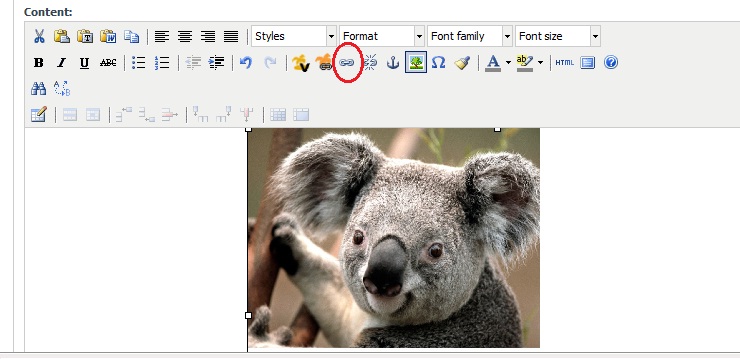
Your image should now appear in the page editor, as shown below. To hyperlink the thumbnail to the medium sized image, click on the image to select it. Then click on the hyperlink icon, circled in the screen shot below.
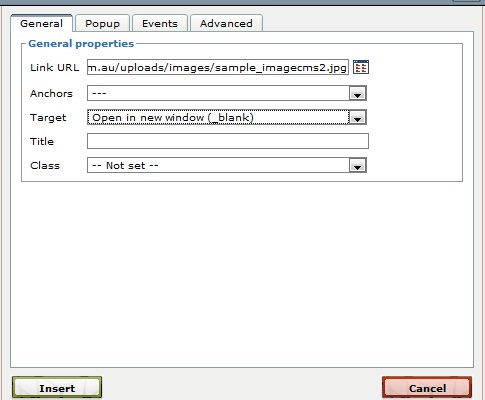
In the next window, select the Browse icon to choose the location of your medium sized image that you recently uploaded using the file manager. Then, in the Target field select Open in new window. Next, click on insert.
Once done with the hyperlink, click on Submit or Apply, which may be found at the top and bottom of the CMS page editor.
You may check the hyperlink by going to the webpage you just edited and clicking on the image you uploaded. After clicking, a new window should open showing the medium sized version of your image.
Inserting Images in Tables
If you want to insert multiple images in your webpage, you may do so by creating a table and inserting an image in each cell of the table. First, insert a table by clicking on the Table icon in your page editor, circled below.
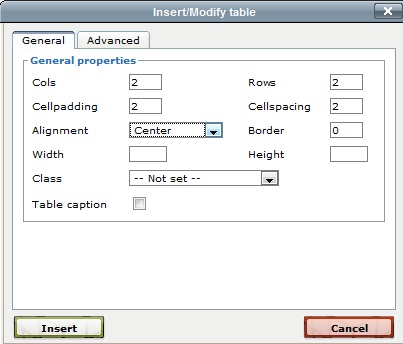
The window below will appear. Type in your desired number of columns and rows. You may also add spaces between the cells by typing in a value under the cellspacing field. You may also choose to have padding around the cells of the table. To adjust the appearance of the table, you may select from left, right or centre under the alignment field.
To insert an image in a cell of the table, click on the cell where the image will be placed and follow the steps outlined in the previous section to upload and insert an image (Uploading Images in the CMS)
Below is an example of multiple images in a table. You may modify the images and the table (e.g. modify cell properties, add or delete rows) by using right click on the table and selecting from the options that appear.
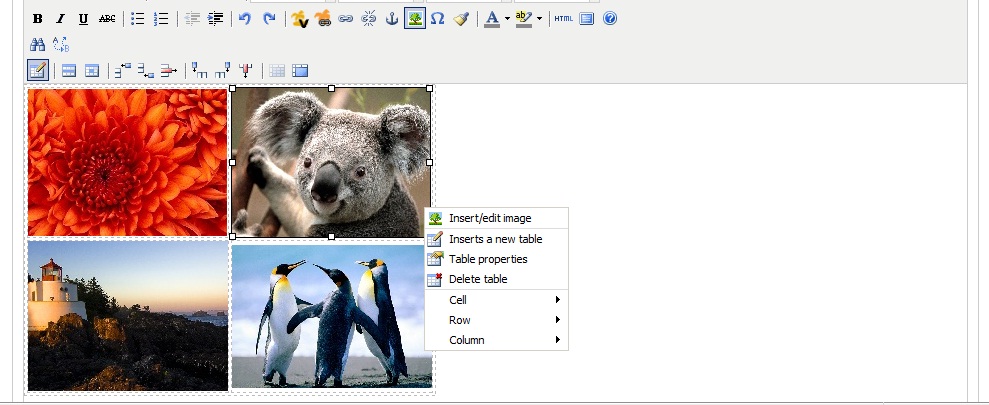
You may also insert text in a cell if you need to include text content. This approach is often used on staff pages or product listings.